I’m finally almost done with the bracer/cuff/whatever it’s called, and it’s time for an update!
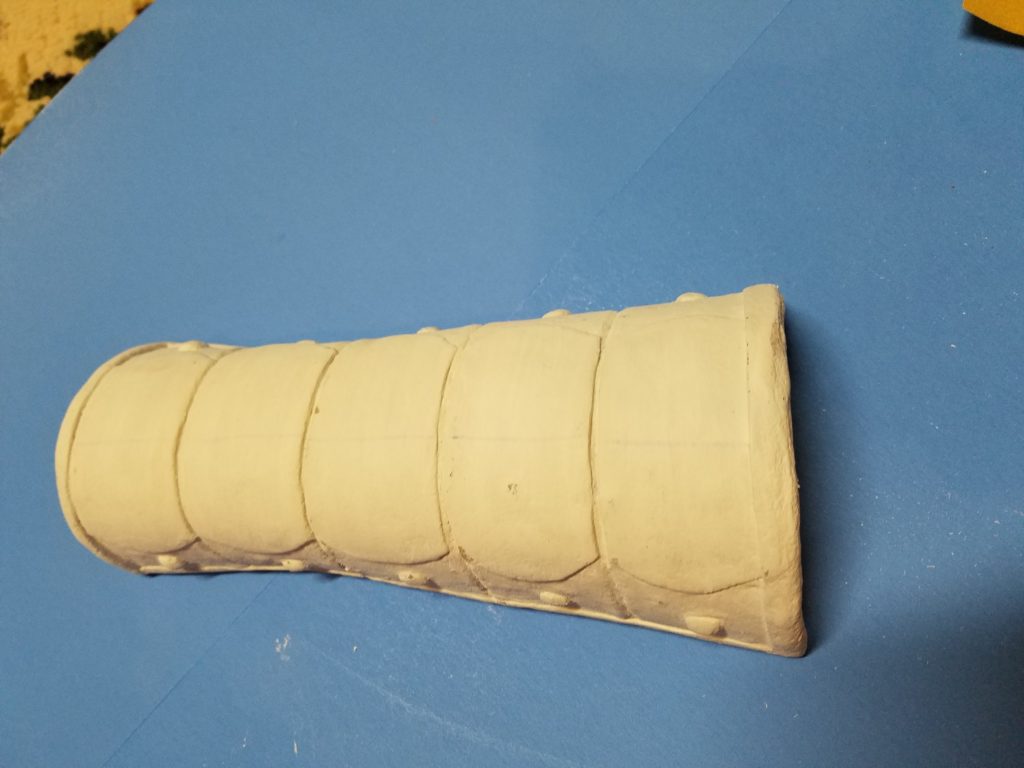
I primed the bracer with gesso (I didn’t take a photo of that) because I already own a giant tub and it seemed silly to buy more. Gesso is a primer normally used on canvases, but can be used on pretty much anything if you get creative. I know I’ve used it on insulation foam before to make my giant Heavenly Sword blade.
I think I applied 5 coats to it, possibly more by the time I was done. I used a hairdryer (set on cool; don’t want to heat up the worbla) to dry each layer in between and then went in with fine sandpaper and smoothed it down. I’m not going to claim that the end result was perfect; we’ll call it the “well loved” look and not the “I just bought this from a fancy jewelry store” look.
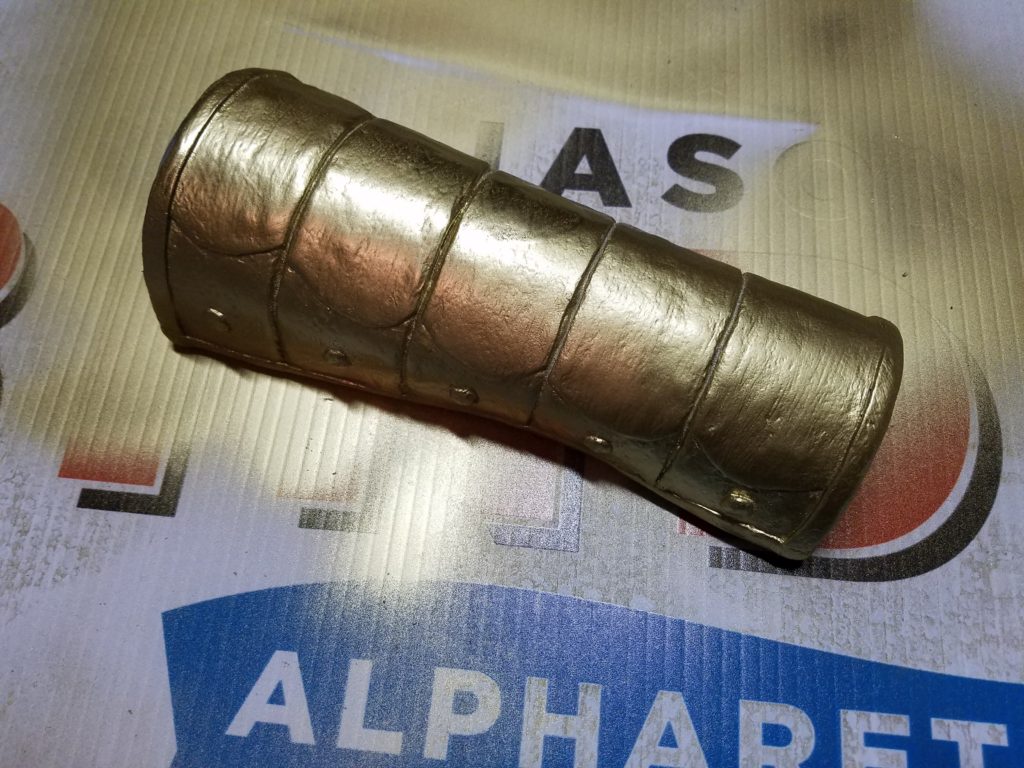
Once I got fed up with sanding, I took it outside and sprayed it gold using Krylon Premium Metallic spraypaint (from Joanns). Handy tip: Political signs are fantastic to spraypaint on! This one was a post election one (just so people don’t think I go around stealing signs off the road) that we had in the garage, and it’s nice because it’s sturdy yet small and I could pick the whole darn thing up and carry it inside without waiting for the paint to dry.
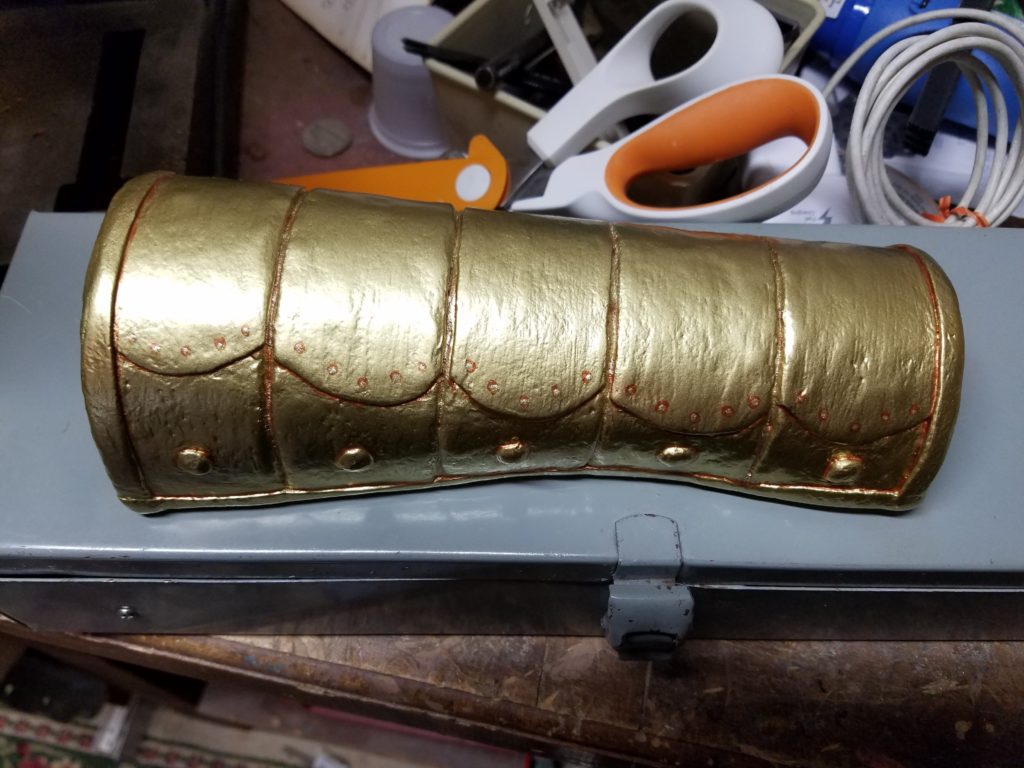
Lastly, I added the painted details.
I want it to look as much like the pictures as possible, but I don’t want it to be very bulky because that will take away some of the authenticity of the piece. The goal was for it to be smallish and fairly close to my skin. I experimented with adding little beads of worbla for the upper dots, but couldn’t get them to not look cheesy. I painted them instead, and while I know they don’t look like they’re popping off of the piece, I like how it turned out. All I have left to finish for the top is to add the red rhinestones.
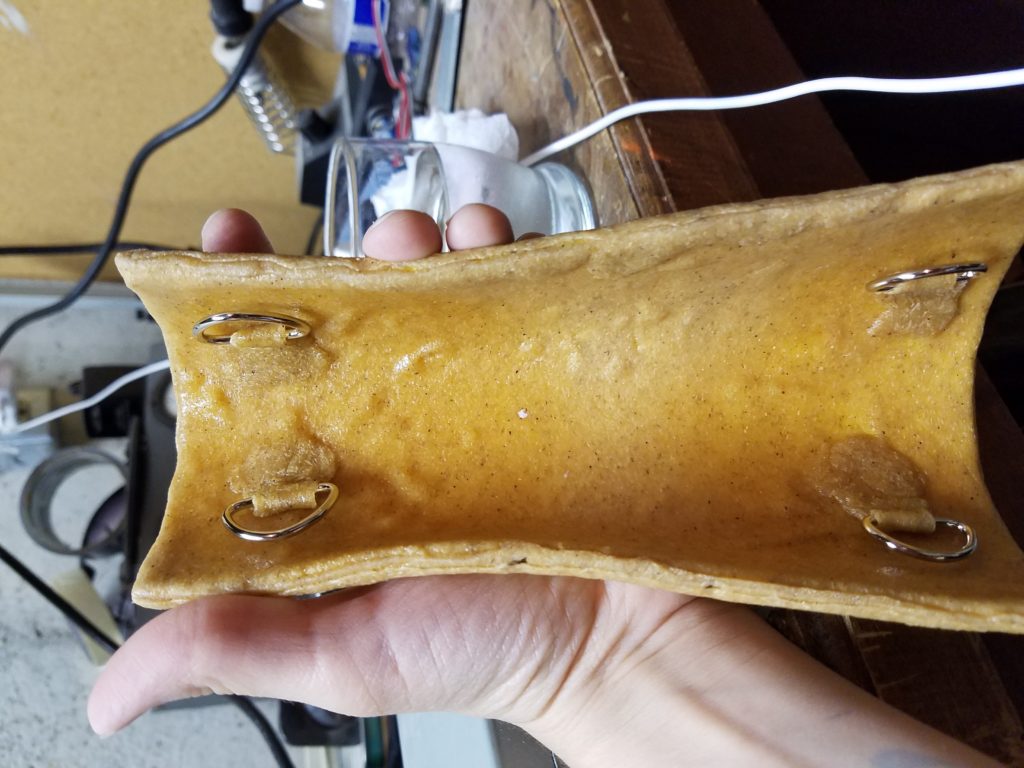
On the underside I’ve attached 8 D rings(only 4 pictured, I promise I can count). To get them in you take a small fold of worbla, run it through the D ring and heat it up so that it folds over and sticks together. You then heat the base part up (ie. the bottom of the bracer) cut it open, stick the D ring piece of worbla (which is hopefully still warm) into the hole you just made, and then close the whole thing up.
I’m still trying to work out how I’m going to make the bottom bracelet part. That’s most definitely going to be out of the 4 way stretch fabric because it needs to stick to my arm and not roll over. So…give me till Wednesday and we’ll see what I’ve got.
Is anyone going to the random AWA event on Saturday other than Stephanie and me? It’s $30 to get in and only $15 if you’re in cosplay. Info is here if you’re interested!


