Happy New Years! WIP

Happy New Year all!  So…2016  was certainly…something…wasn’t it?  2017 will be better…theoretically…I choose to be optimistic!

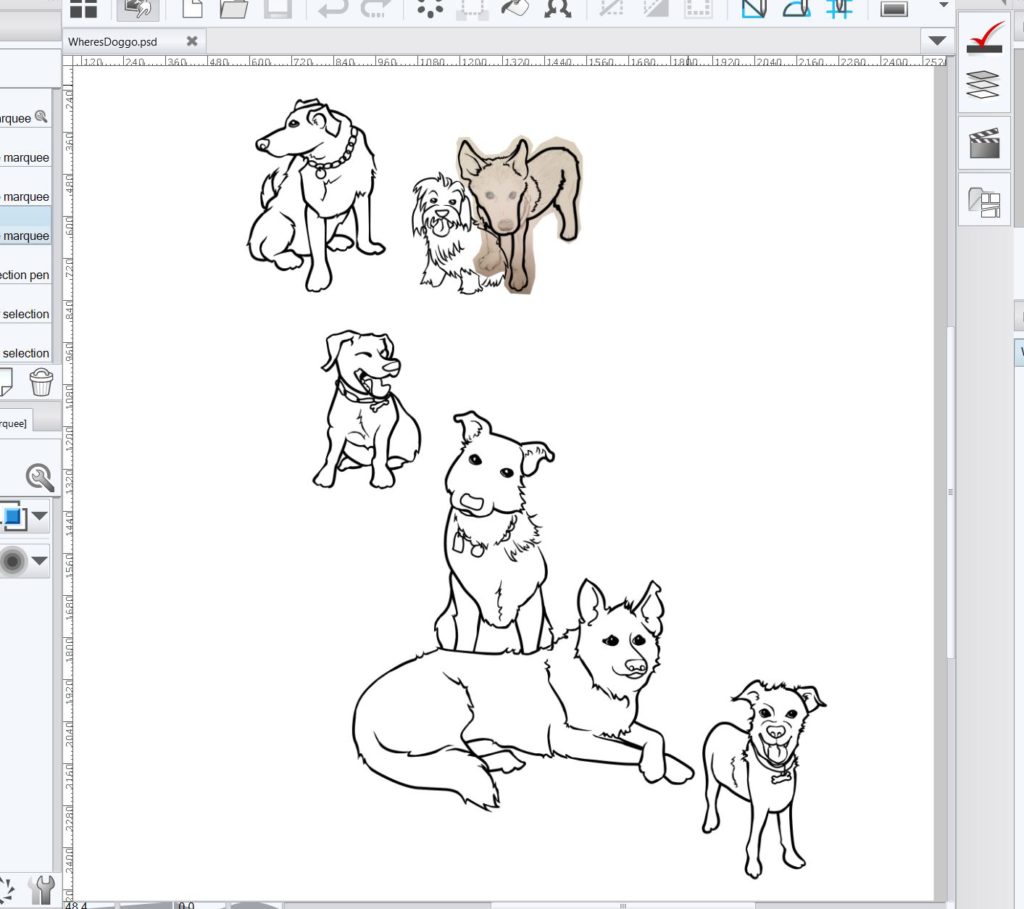
That said, here’s a bigger WIP of the dogs I’ve been working on.  For the record, your dogs are now well on their way to becoming fabric.  I’m fairly pleased with how they’re turning out, but I’ve got a long way to go before I’m done.  So hold your horses.

Sketch of 7 dogs in Manga Studio

I feel like I should have (not set, have…goodness, if I just randomly decided on goals this morning that would end BADLY…and QUICKLY) some goals going into 2017, and I do, it’s just some of them will probably be completed today (if I get on it!), so I don’t know if they’re really goals or just moments of “Angela, stop being lazy.”

So…my 2017 to do list (for those who are interested):

  • Put all of my items up on my Etsy site so that people can actually buy them without having to call me and say “Hey, I want that.”
  • Finish drawing doggos.
  • Make a Facebook business page (can you hear me groaning?  I’m groaning).
  • Make new business cards.
  • Design some sort of postcard flyer to tuck in packaging and hand out at craft shows.
  • Draw out some of the greeting card ideas I have floating around in my head (coloring cards, of course).
  • Apply to more craft shows (Don’t worry about that sound.  It’s just me groaning again.  And my wallet groaning.  They can do that).
  • Make better poetry to put inside the greeting cards.  Or worse poetry.  Or puns…I like puns.
  • Finish up the manuscripts I have sitting around.

Short list…yeah…should knock all that out in no time. 🙂

Wishing you and yours a wonderful 2017 (and promising to  get back to blogging regularly)!

-Angela

Cupcakes: Fabric Making is Hard

If you’ve had the joy of talking to me these past few days, you probably know that I’m sick of looking at cupcakes.  As in positively disgusted with them.

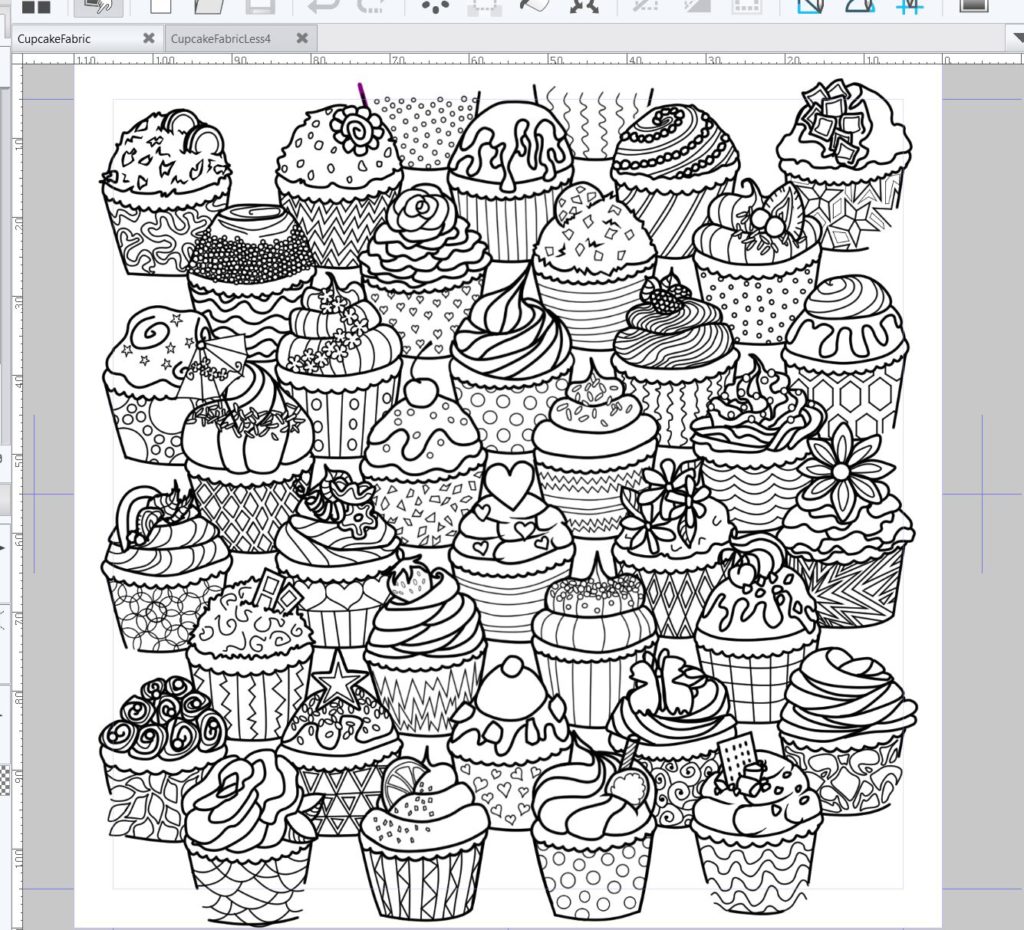
Cupcake Coloring Design

In my defense, I think every artist goes through this with any project.  I’ll call it, “I’m so sick of looking at this” syndrome.  It isn’t that I don’t like what I’m working on–I wouldn’t be working on it were that the case–it’s that I’m temporarily out of the fun part of drawing and now I have to do all the technical stuff of fabric making and that…well…is hard.

Worth it, but hard.

Because everyone knows how excited I’m going to be when I finally get this pattern figured out properly, and how loud I’m going to squeal when I get the package in the mail.

So, what I figured out yesterday: Manga Studio has this lovely grid feature that can go behind your drawings(that I wish I had known about sooner).  Sounds handy, right?  Oh it is.

Rearranged cupcake drawings

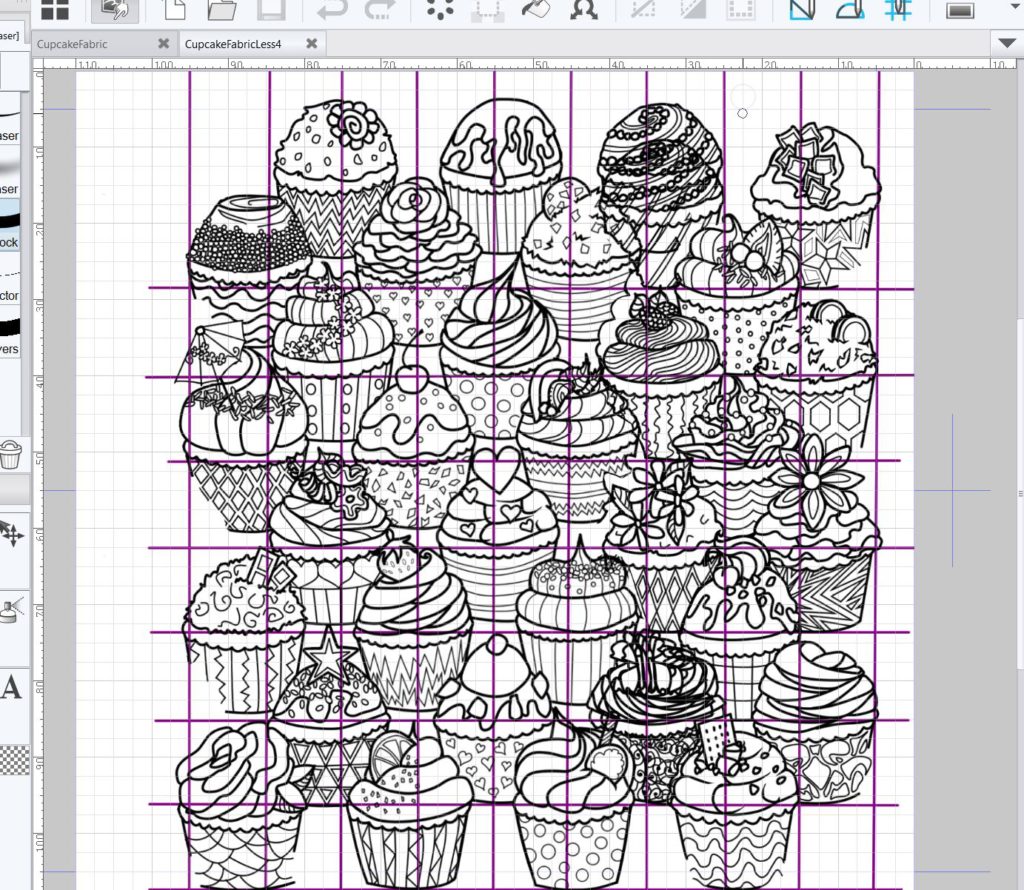
After trying and failing with the offset feature in Photoshop, I decided to try doing things a different way.  Unfortunately, in trying out my different way, I discovered that my cupcakes would never align properly because I had created one row too many on the left (I erased them and transplanted the prettiest toppers to other uglier cupcakes).  Then I went back to Manga Studio (which is such a lovely program compared to PS) and created my grid.  The purple lines are based off where the cupcakes should sit in relation to each other.  There was much more math involved in this than I really would have liked.

Now I’m trying to complete the tedious process of shifting (scooting might be a more appropriate term) cupcakes into their proper spots.  You can see a few duplicate cupcakes, gaps between cupcakes.  The one second from the right on the very top gives you a pretty good look at how far some of these have to move.

**************************************************************************************************

9/26/16 Update!  I’ve now officially scooted all of the cupcakes!!!!!

**************************************************************************************************

Hopefully this works and I can grid them together.  This is so insanely tedious.  Oh.  My.  Goodness.

I’m going to have it done by Wednesday’s post.  I’m determined!

If you’re interested in patternmaking on your own, and don’t know where to start check out these two links:

Julia Rothman’s Tutorial on Design Sponge

Rothman shows you the basics of how to do it on an actual sheet of paper (and by “do it”, I mean the fancy thing that the offset feature in PS will do for you).  It kind of blew my mind and the whole process made so much more sense to me after reading this tutorial.

The Jungalow’s Tutorial on Reapeating Patterns

This is the method I’m currently trying out.  Justina Blakeney (Jungalow founder), even recommends the Design Sponge tutorial. Blakeney’s tutorial is very simple, and I really do get the theory of it.  My only complaint is that I wish she told you exactly where the buttons she was clicking were on PS.  Because I am waaaay behind the times on it.

(P.S. Check back on Wednesday, I’ll be posting the new embroidery designs Becky and I put together!)

Quilts and Fabric Markers–Project Updates!

So many project updates.  I’ve been a busy beaver this week!

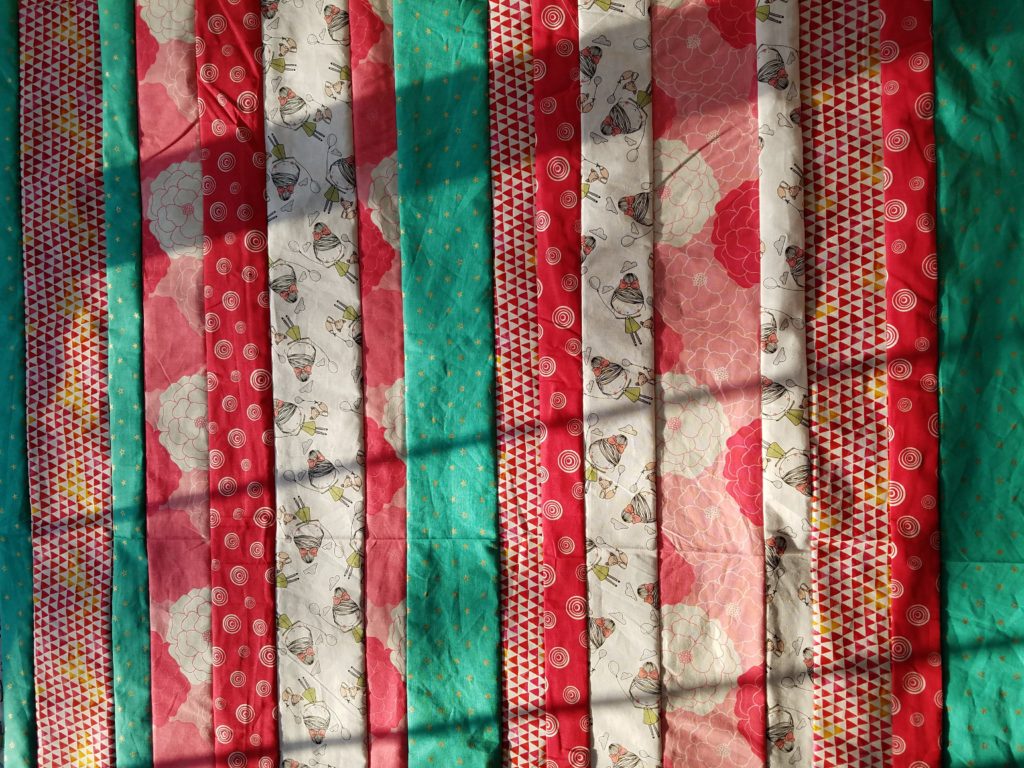
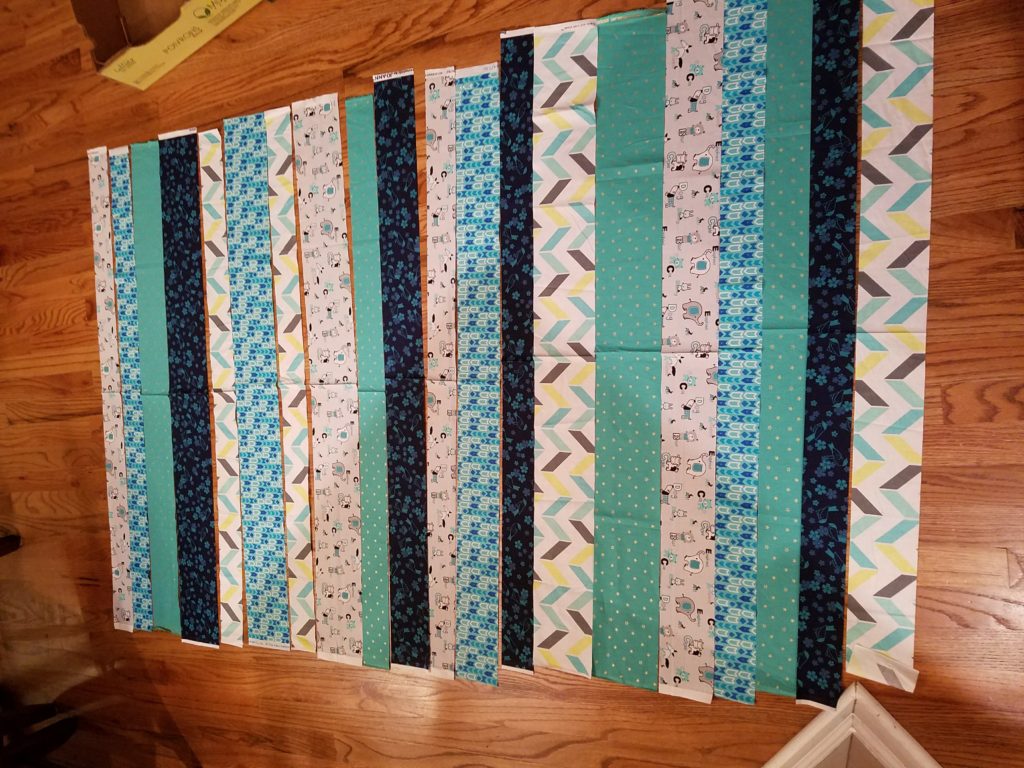
Pink and Teal Quilt

I’m quilting again, which I’ve missed.  Quilting (to me) is kind of like painting but less messy.  I absolutely despise picking out fabric.  #1 I want to take EVERYTHING home with me, and #2 because I’m an absolute perfectionist about picking out fabric.  It all has to go together.

Teal and Blue Quilt

And by go together, I mean that the colors have to work together and the patterns.  You cant have five seriously busy patterns and then one that isn’t.  I like varying the degrees of the patterns, picking one favorite and basing the rest off of that.  Thus it takes forever.

I have a “boy” quilt and a “girl” quilt started (I’m going to use that very loosely…to me neither one looks particularly gendered…also, my boy students all love pink…so…what’s the point?)…they’re going pretty quick.  I also have cats…they’re very…helpful…

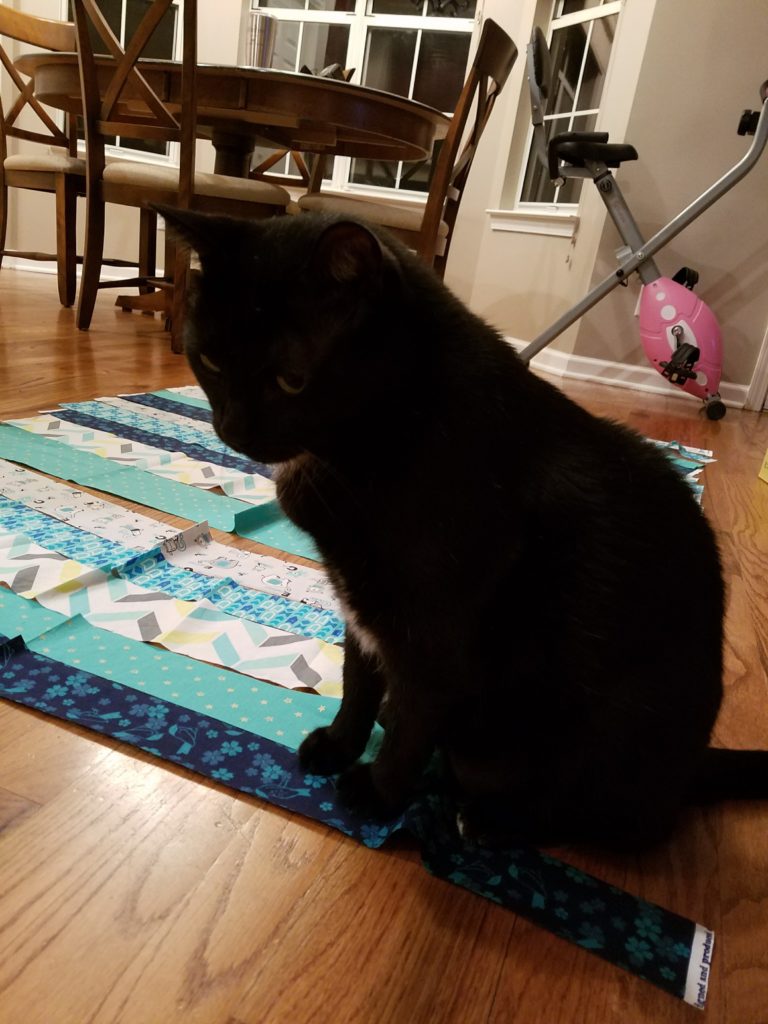
Cat on a Quilt

Pele would like everyone to know that he absolutely DID NOT walk all over the pieces I laid out and mess up my layout.  He helped me artistically rearrange them.  Because that’s the kind of cat he is.  Helpful, through and through.

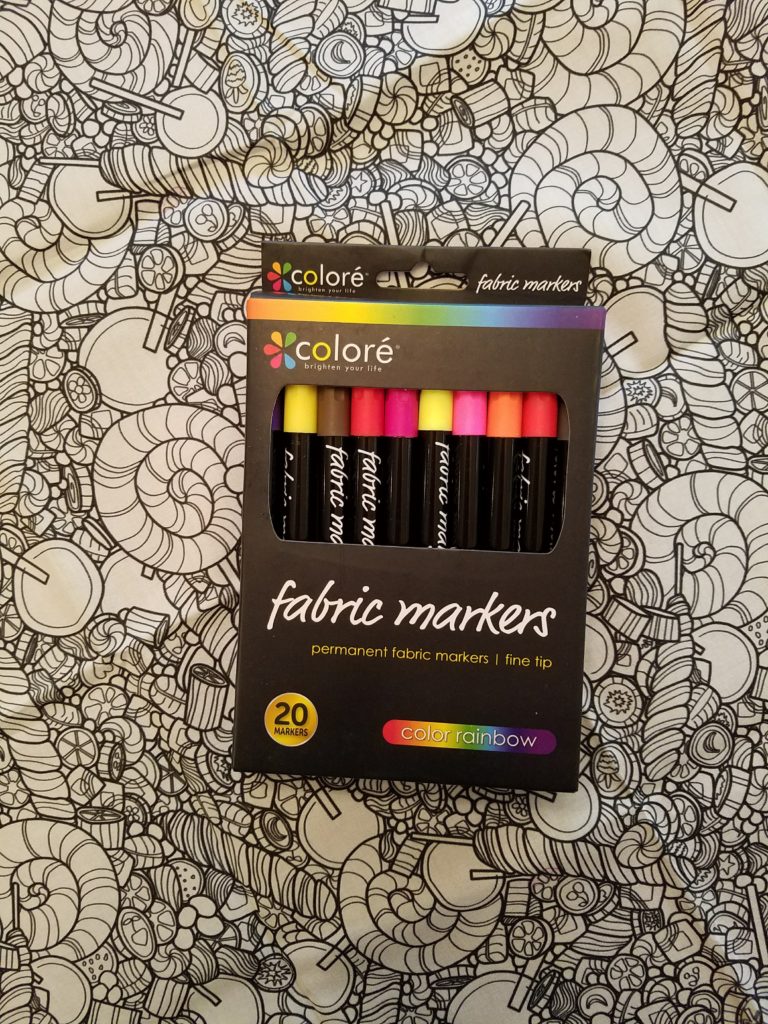
Colore Fabric Markers

I was also supremely delighted to get a new set of fabric markers in the mail.  I LOVE THEM.  THEY WORK SO MUCH BETTER THAN THE TULIP ONES!!!!!  Yes, I just scream/typed.  Because I am that excited.  I love you Colore markers.  You are da bomb.

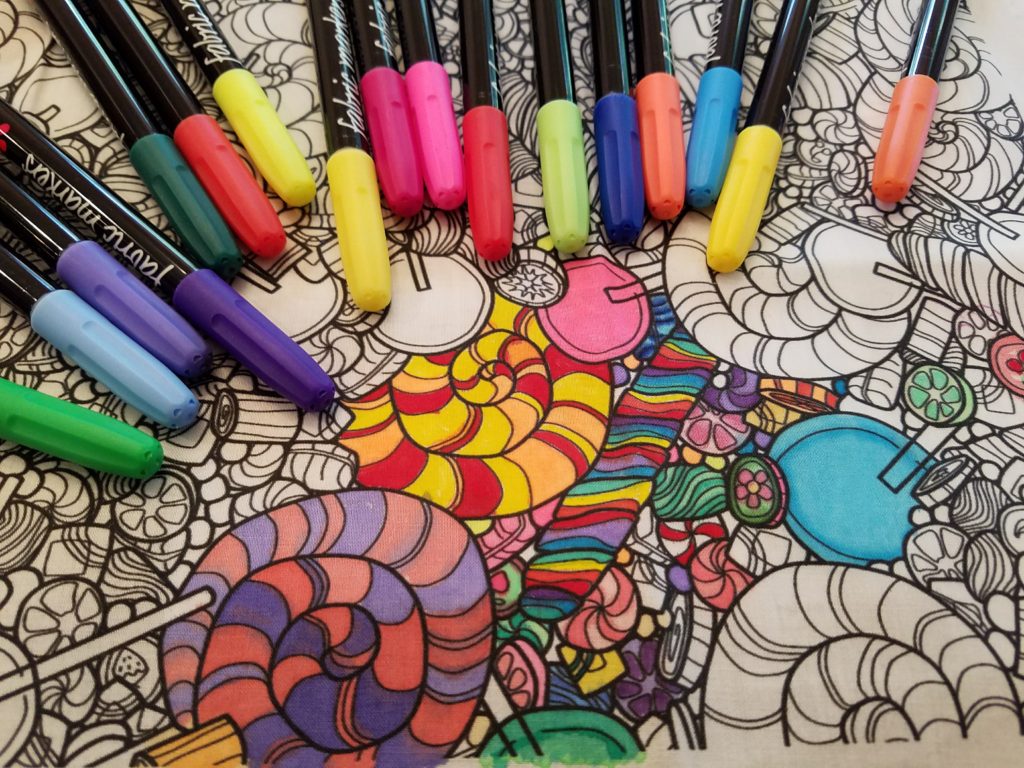
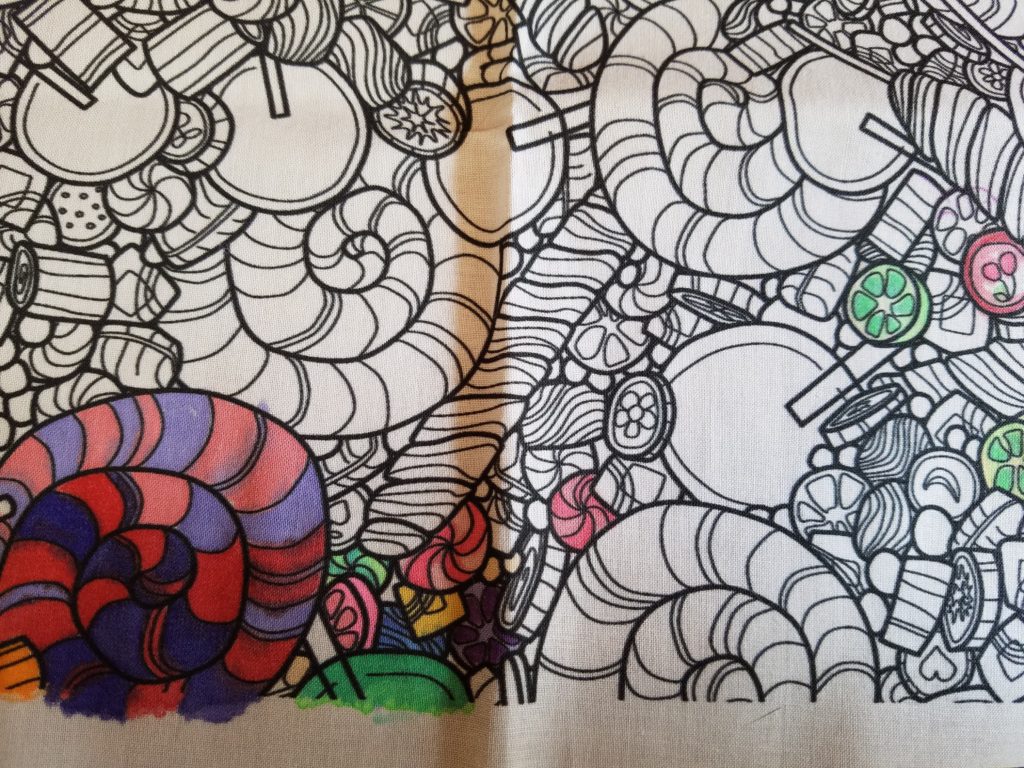
Colored in Fabric

You can see a little comparison between Tulip vs Colore.  The wishy-washy colors are Tulip, the bright ones are Colore.  I intentionally recolored half of the red/purple lolipop with Colore markers so that you could see the difference.  Crazy right?  As I was playing with them I realized that I could use the two types of markers together to create shading/watercolor effects/etc. but if you only want to buy one set of markers, don’t even bother with the Tulips.  Just get the Colore’s.

The Colore Fabric Markers bleed less, plus they have a lovely super saturated color.  The only downside is that you really need to put paper or something under the fabric as you color, because they will bleed through to the table.  Everything I’m making with my coloring fabric will be interfaced and probably have a layer of batting behind it as well, so I’m not too worried about that, but if you were to color a t-shirt with them it would absolutely matter.

So…that’s all the project updates I have for today, BUT (yes, that’s a big but–and I did just giggle a little bit over that…I made a butt joke!) I’m going to post an update later in the week with a few more creations for the craft fair…they’re coming along nicely!

Tulip Fabric Markers–Worth it?

DragonCon is over…AWA is yet to come…and I no longer have a pressing cosplay to finish (unless you count Megumi from Food Wars…but I’m not going to call that pressing), which means back to making things for Holly Days!  They officially accepted me last week, so it’s really going to happen! (November 10-11, mark your calendars!)

Tulip Fabric Markers

Instead of stressing out, I’m trying to figure out all the bits and pieces I’m going to need to bring with me, and I need fabric markers if I’m going to make stuff out of coloring fabric.

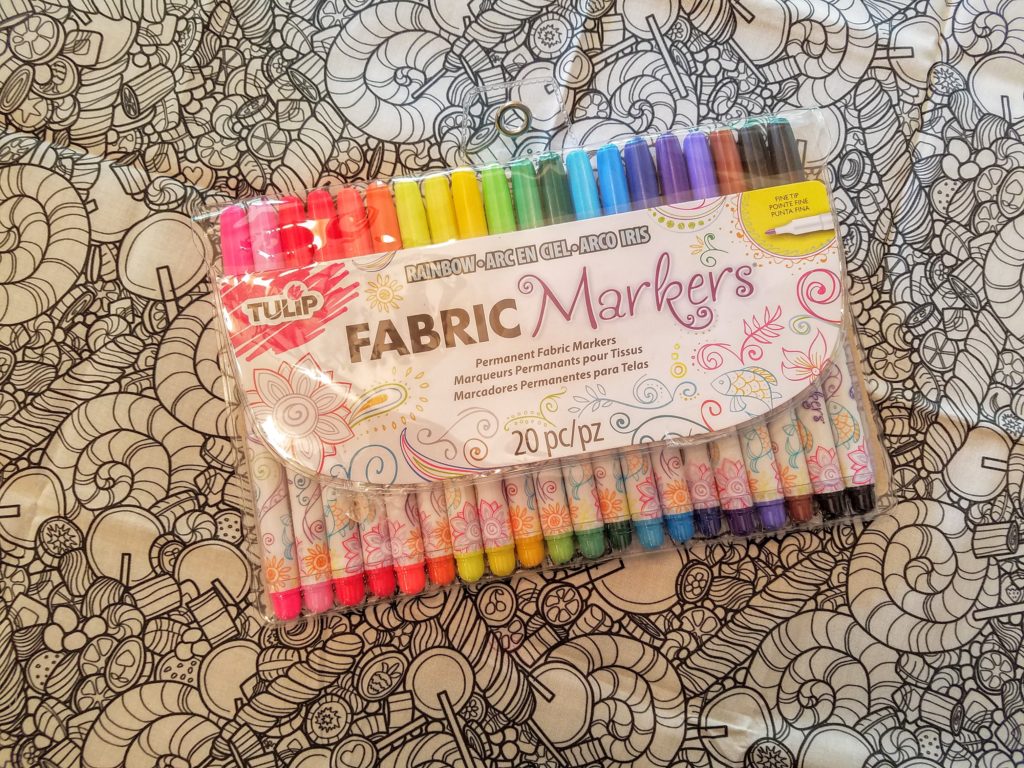
These are Tulip, and I’m regretting not buying the dual tip ones.  This pack was $20 for 20 markers (at Joanns, I used a coupon), but the dual tip ones come with 14 colors for the same price.  I thought more colors would be a better deal.  I may have changed my mind.

Candy Fabric Colored in

As you can see, they bleed–my mom and I colored around the edges of my test strip.  Once I got the hang of it, it wasn’t so much of a problem, but certain colors (like blue) bled more than others and I really had to remind myself not to color too close to the lines.

Red and Purple Lolipop

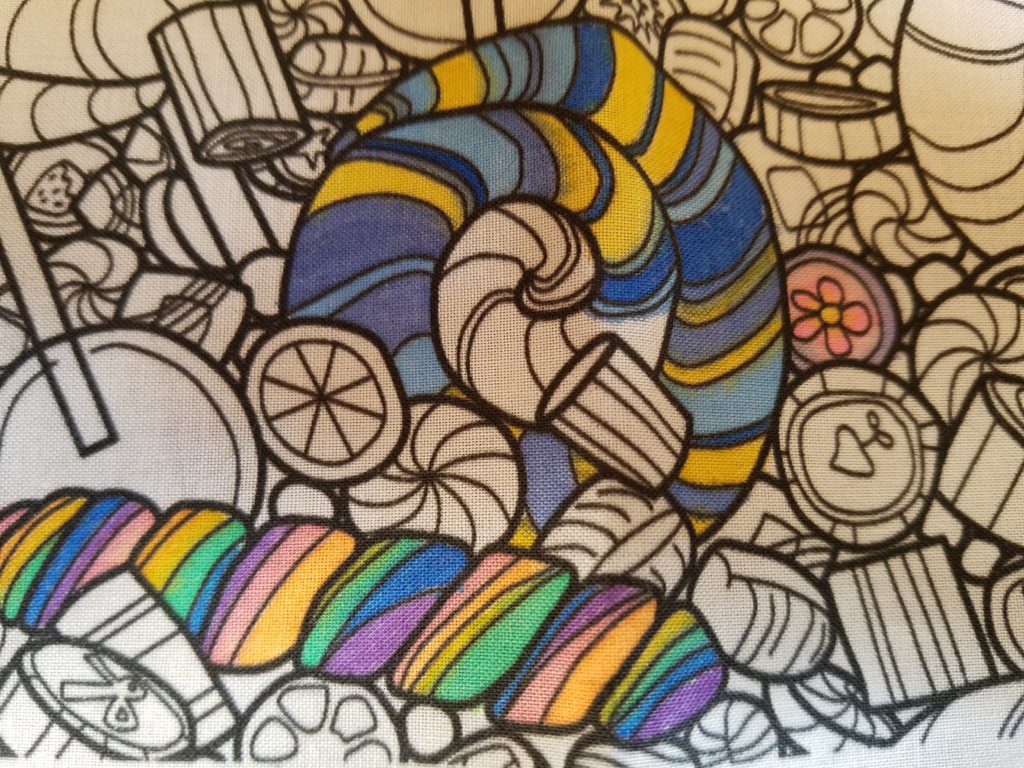
I also felt that the color was a bit too wishy washy.  I got over it after a while and pretended it was watercolor–but then I discovered that you can layer them!  Please keep in mind that you still have the bleeding problem, but it is possible to make the color stronger.  The purple and red lolipop on the left is probably my best example of this.  The light red and purple are before, the dark red and purple are from the second layer.

You can also layer different shades together to make a better color.  The half of a green lolipop in the middle/bottom was closer to the light  green of the candies on the right.  I then layered neon over the “dark green” and voila!  An actual, honest to goodness, saturated color.

I’m going to keep playing with it.  I’ll probably end up buying the dual tips to test out the fine points (they have really thin points on the dual tips), because I feel like the markers do what I want them to do.  Just not perfectly.  And if I’m going to bring some to my booth to sell, I want to make sure I’m bringing something I would use myself, that I can instruct someone else on how to use.

I’ll be trying out the “Colore Premium Fabric Markers” 20 pack in a few days–more reviewers claiming that they don’t bleed.  I hope I like them better!

Visit my Etsy shop here to buy a downloadable PDF of Coloring Bookmarks Eat Sweets! (The candy pattern on the bookmark)

I’m slowly but surely putting my DragonCon pics up on Instagram ( scribblerex ), so follow me! (And let me know who you are, if I know you!)

Look What Showed Up in the Mail!

Candy Fabric

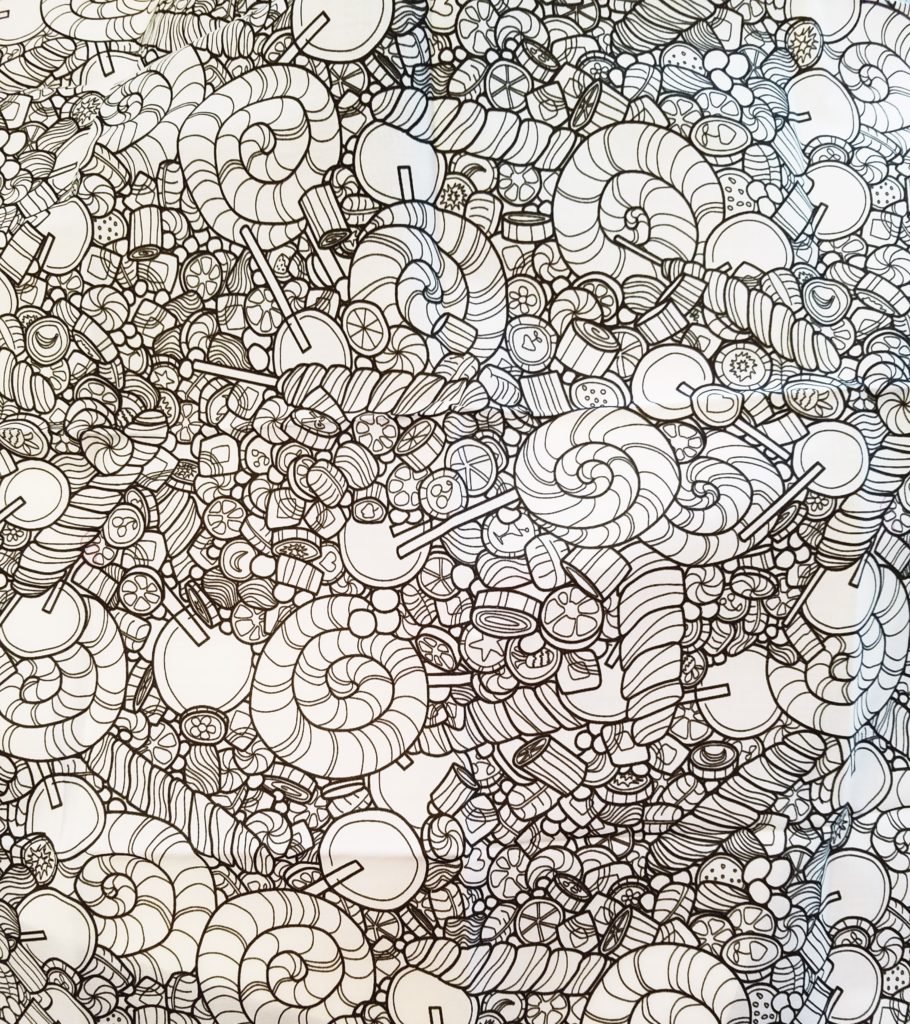
All I can think is, “Ididit!Ididit!Ididit!Ididit!” to myself over and over.  In case you can’t tell from the photo…that’s fabric.  I designed it…and I’m feeling rather pleased with myself about it.

I took the design from the candy bookmark (here!), made it a million times more complicated (it took about 2 weeks of grumbling to finish–I’m very sorry about that to anyone who had to listen to the grumbling), and used Photoshop to create a repeat pattern (which is, in all honesty, pretty much the only thing I currently know how to do in Photoshop).  And it worked!  On the first try!

I’ve stared at it long enough at this point to feel comfortable saying that everything lined up just as it should.  Gah!  I’m so happy with it.

And now I get to order more and make stuff with it (stuff–a technical term) as I only ordered a fat quarter initially.  Hopefully my next pattern will come together much quicker than this one did (cupcakes next!).

Now what to make with it first?

P.S. I feel like I should just come out and admit to not ironing before photographing…everything is far less bendy in person, lol.  I realize there’s some weird stuff happening in that photo.