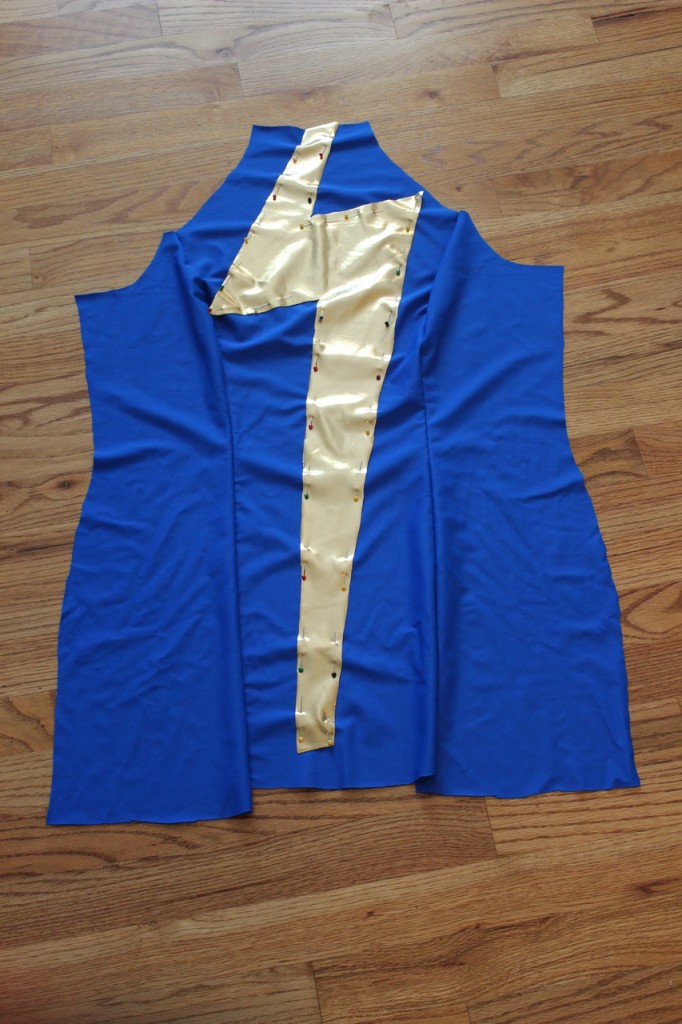
This post is both an update on my Ms. Marvel costume, and a review of the Yaya Han fabric all at the same time. Oh, and a tutorial on how to get started with 4-way stretch fabric if you’re as clueless as I was…yesterday. Although, as I’ll be doing several weird things with the Yaya Han fabric (besides just sewing it together) this “review” is probably going to stretch for more than one post so I’ll link them together as I go.
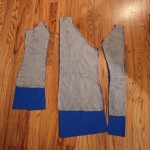
- I added a few extra inches to the shirt pattern to make a dress.
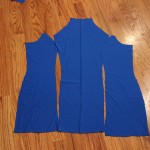
- Cut it out.
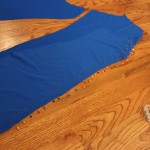
- And pinned it all together. This was the easy part.
It was suggested that I do a bit of research on how to sew 4-way stretch fabric before I actually start the project and risk messing up my nice fabric. I wasn’t worried at all about sewing it before I did the research. And then I figured out how many different bad things might happen to my nice fabric if I did something wrong and all of a sudden I was a bit of a nervous wreck.
People who commonly sew on 4-way stretch seem to have 1 main piece of advice:
Use a serger.
I technically have a serger. When we were little, my mom was afraid my brother was going to slice his fingers off with it (a reasonable concern, having known Greggy his entire life). So it’s been living in a box for roughly 30 years. Thanks Greg.
This left me with one option: my little Husqvarna.
It is completely possible to sew 4-way stretch on your normal sewing machine, and the normal old YaYa Navy Blue 4-way stretch (the $20 one, not the $40) gave me absolutely not trouble on it. (The gold is another story).
5 Things you can do to (try and) guarantee success with 4 way stretch fabric:
- Use a stretch needle. I’m not certain that I understand all of the technical details that make these little guys work, but they’re designed so that you don’t skip stitches while sewing on stretch fabric. I picked up a pack of Schmetz needles at Joann Fabrics. You can get them on Amazon if you’re so inclined.
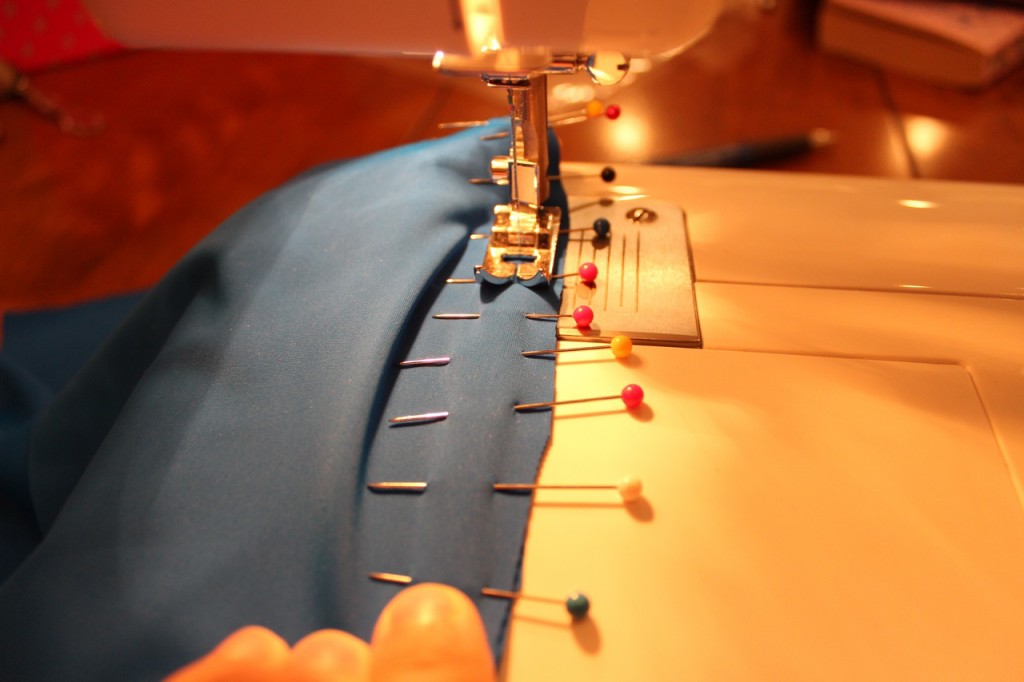
- Change the tension on your machine. You want to make sure that the thread will also stretch with the fabric, and making it looser helps with this. Most recommendations I read said to put it on 2 or so. That worked just fine for me.
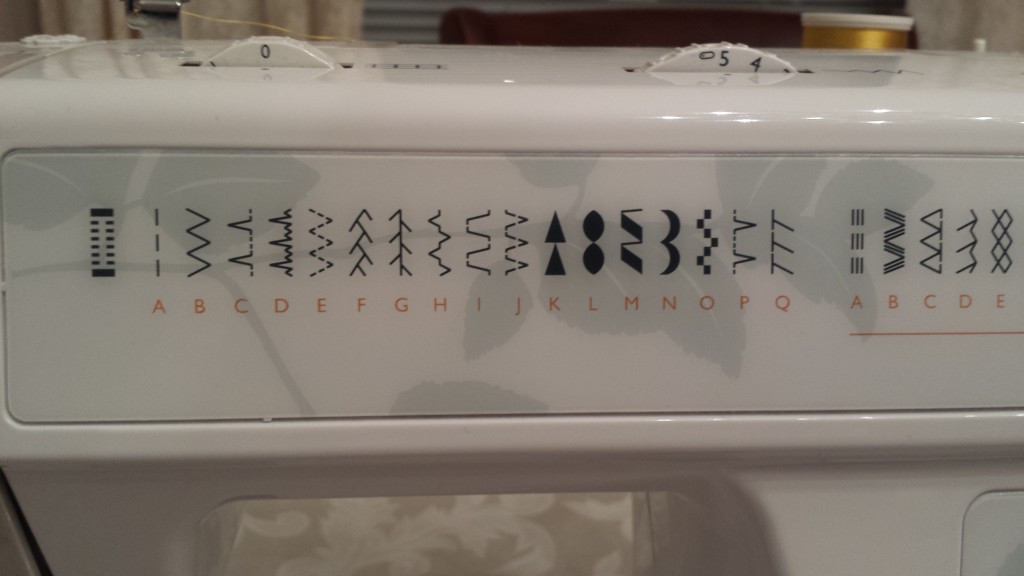
- Use a stretch stitch or a zigzag. I used C or P on my machine, which isn’t a total zigzag, but the little extra stitches that go inward on them were just enough to keep the stretch I needed. A full zigzag is supposed to keep more stretch, but then your seam is going to look funky.
- Don’t use cotton thread. Apparently it breaks more easily. I don’t know if I actually followed this one with the blue, as I used a spool of thread that I already had and it no longer had stickers on it to tell me what it was. But I’ll add it in my list anyway as it sounds important.
- Pull gently on the fabric as you feed it through the machine. This will keep it from bunching up. Gently is the key here. If you pull too hard it will also bunch. Just in a different way than if you don’t pull.
Go slow and do a test on some scraps before you use your actual pieces. That way you can tell what’s happening with your fabric as it happens, and figure out how to correct it before you start on your actual pattern pieces.
I had no problem putting together the front of the dress. So, just considering that I’m happy with the fabric so far. The gold is proving a bit trickier than the blue, however, and the fact that I can’t iron it isn’t making me feel any less…annoyed with it…so we’ll see if I my happiness doesn’t swing towards angry frustration by the time I’m done working on the appliqued lightning bold.
Next post! Applique with 4-way stretch! Huzzah!
Oh, and in case you missed it, I’ve got new coloring bookmarks up on Etsy! They’re flowers. Check them out, buy a set, make me insanely happy for at least 24 hours. Sometimes longer. You know, whatever!

